

Forms are among the internet's most versatile tools. Whether you need a contact form or a checkout page, a survey or a student directory, a form is all you need to easily gather that information. With Google Forms, it only takes a few minutes to make one for free.
Google Forms—along with Docs, Sheets, and Slides—is part of Google's online apps suite of tools to help you get more done in your browser for free. It's easy to use and one of the simplest ways to save data directly to a spreadsheet, and it's the best sidekick to Google Sheets' spreadsheets.
When you need to gather data for your spreadsheets, a form is your best friend. In this chapter, let's take an in-depth look at Google Forms' features, hidden tools, and add-ons to help you make the forms you need in minutes.

The simplest way to start building a form is right from the Google Forms app. Go to docs.google.com/forms, then either choose a template or start a blank form.
There's also a link to Google Forms in Docs, Sheets, and Slides: click File -> New -> Form to start a new blank form. Or, in Google Sheets, click Tools -> Create a Formto start a blank new form that's automatically linked to that spreadsheet. That's the quickest way to get data into a new or existing spreadsheet: open the spreadsheet where you want the data, start a form, and the form responses will automatically be saved there without any extra clicks.
FIELS IN GOOGLE FORMS
Here's what each field type offers:
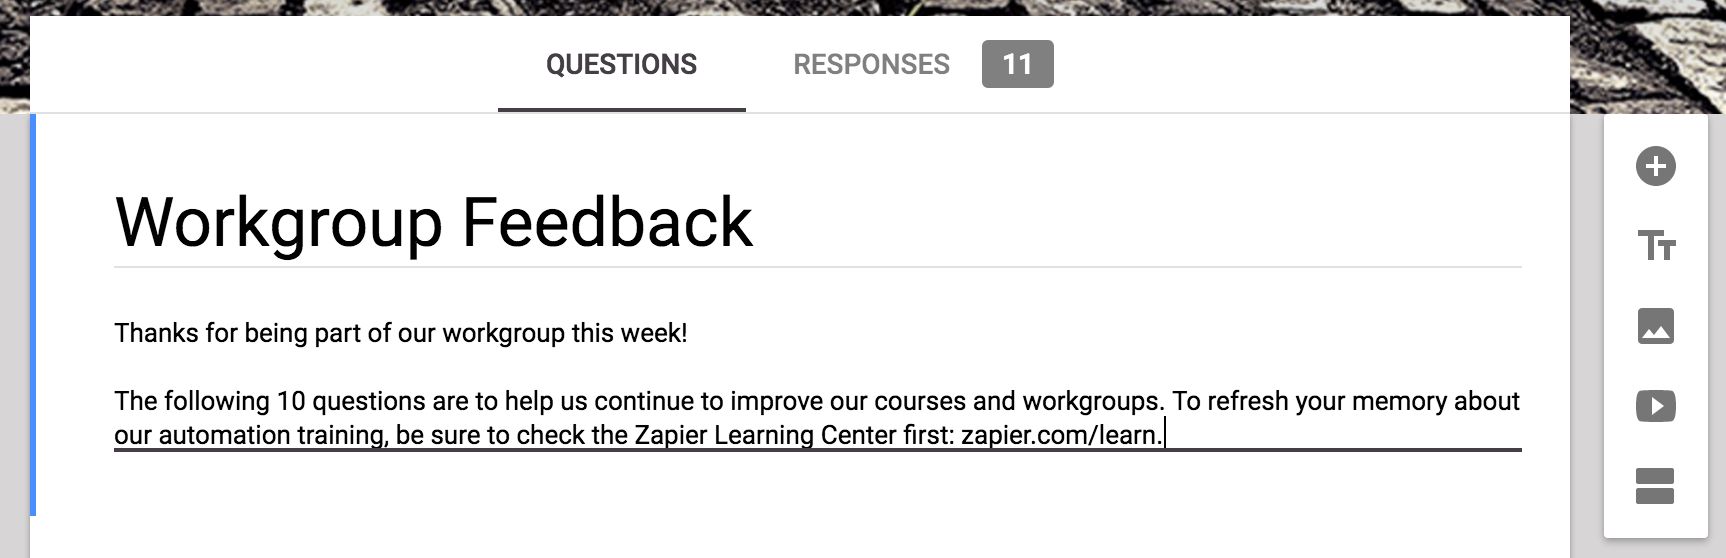
Title and Description: The title and description fields are added automatically to every form and field—though the description is hidden by default on most fields—and you can add an extra title block anywhere with the Tt button. You can leave the title and description blank on questions, but the main form title must be filled in.
The description doesn't include formatting options—though you can include links (in shortened format, like zapier.com, or as the full length style likehttps://zapier.com/), and form readers can click those to see your site or related material.
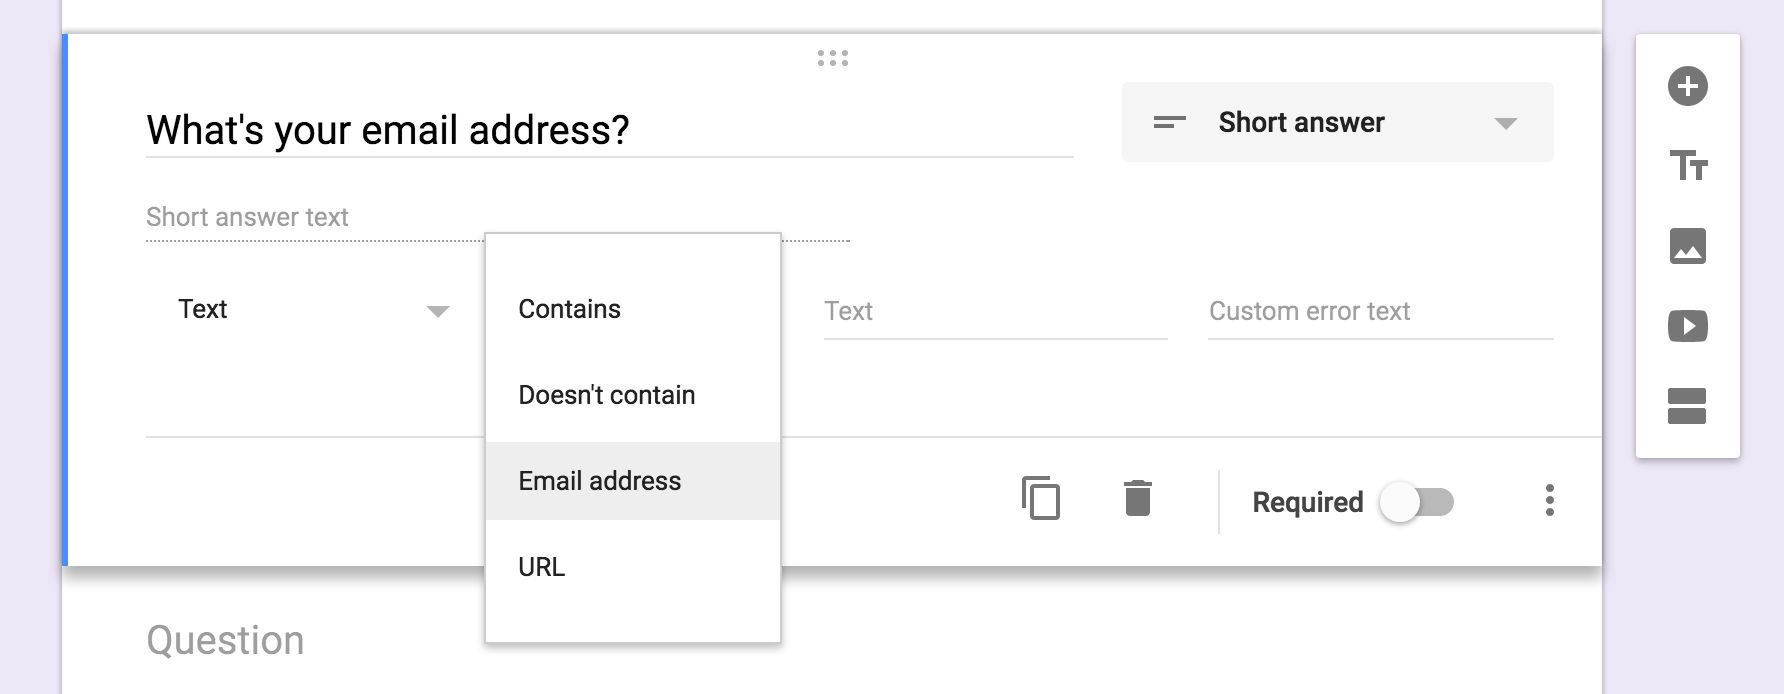
Short Answer: This field is perfect for asking for small bits of text: names, email addresses, values, and more. You get one line of text to answer the question—though your users could actually enter as much text as they want.
To make sure you get the answers you need, this field includes number, text, length, and regular expression data validations. Number validations help you watch for ranges of values, while text validations are perfect to watch for email addresses or links.
Paragraph: Much the same as the short answer field, this is a field for text—long-form text. Length and regular expression are the only data validations available here, so only use it when you want detailed feedback or longer notes in the answer.
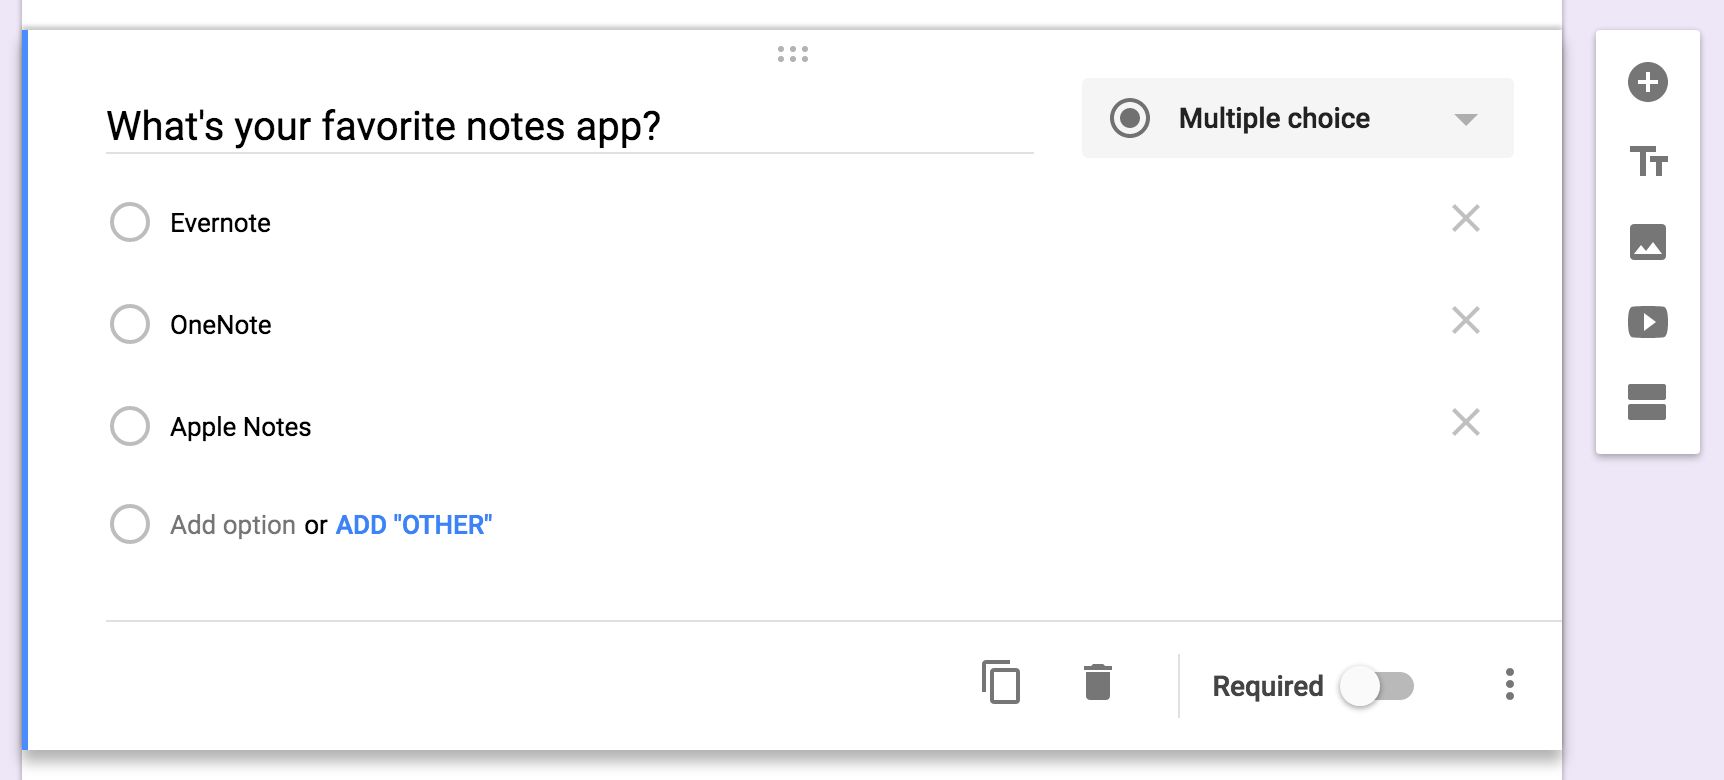
Multiple Choice: The default field for new questions in a Google Form, multiple choice lets you list options and have users select one. You can then have the form jump to another section based on the answer or have the answer options shuffled to prevent bias.
Checkboxes: Similar to multiple choice, this field lets you list answers and have users select as many as they want. It also includes data validation to require users to select a specific number of options. It doesn't include section jumps, however.
Dropdown: Want all of the answer options in a menu? This field's for you. It's the exact same as the multiple choice field—with the same section jump and shuffle options—only this time the answers are in a menu. This is useful for keeping your form compact when there are many answer options.
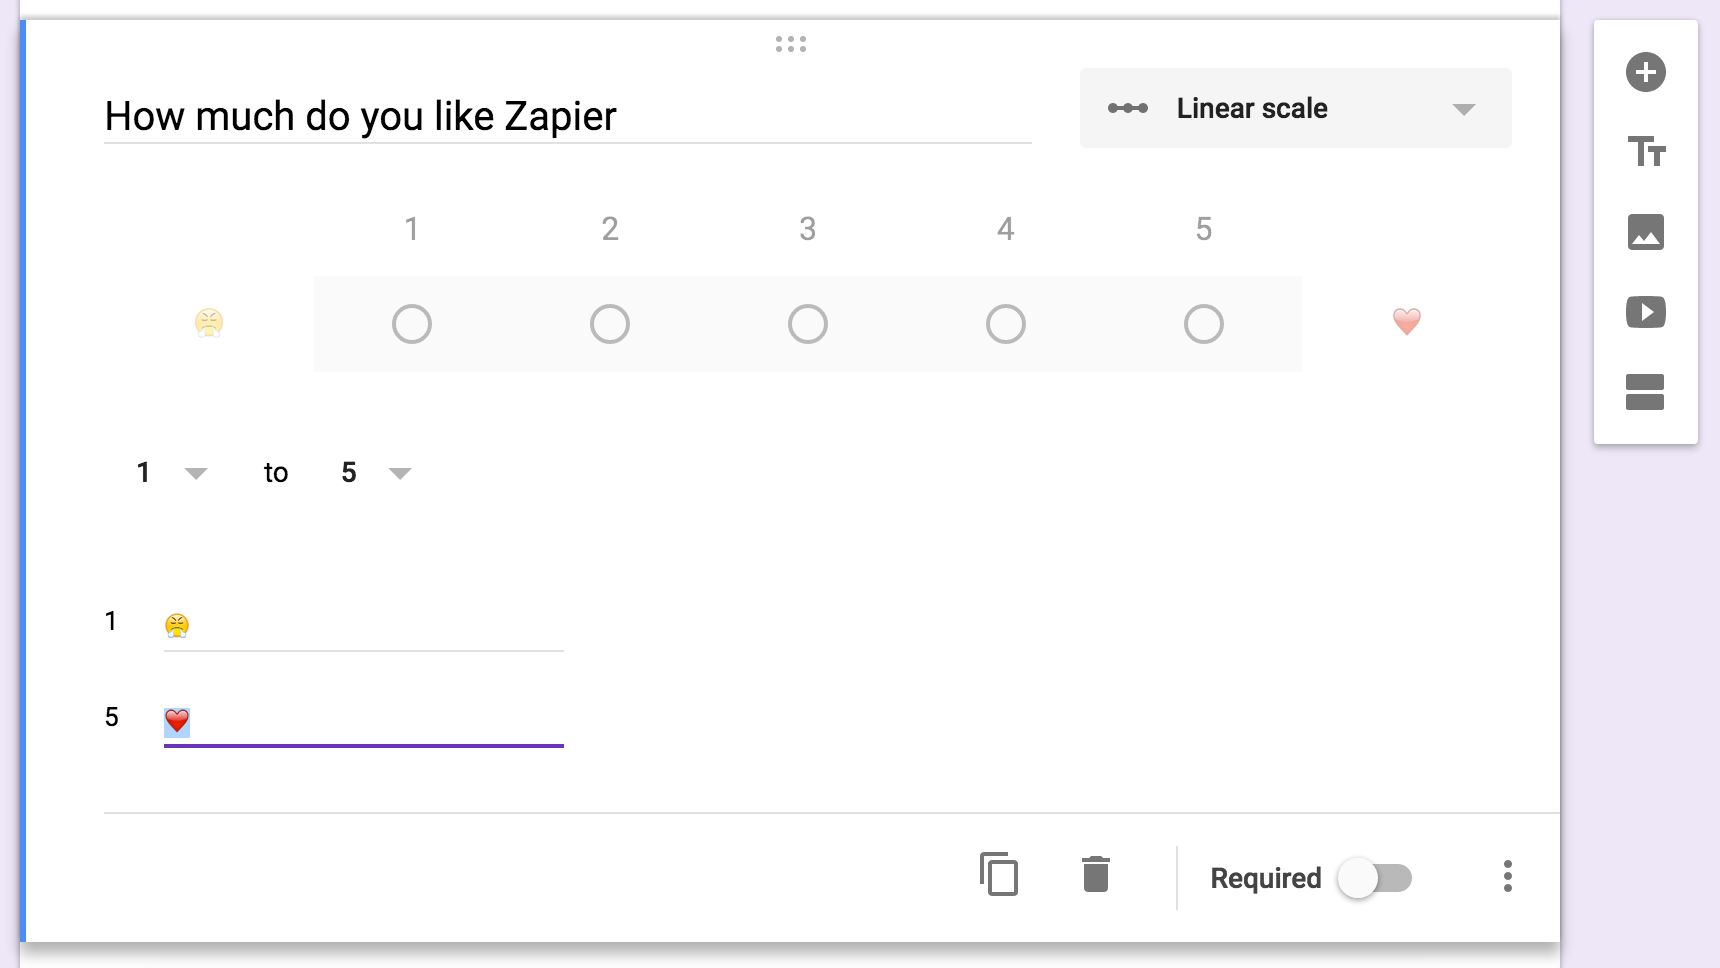
Linear Scale: The field to let people select a number in a range, linear scale lets you set a scale from 0 or 1 to 2-10 with labels for the lowest and highest options. And yes, emoji work for labels, too.
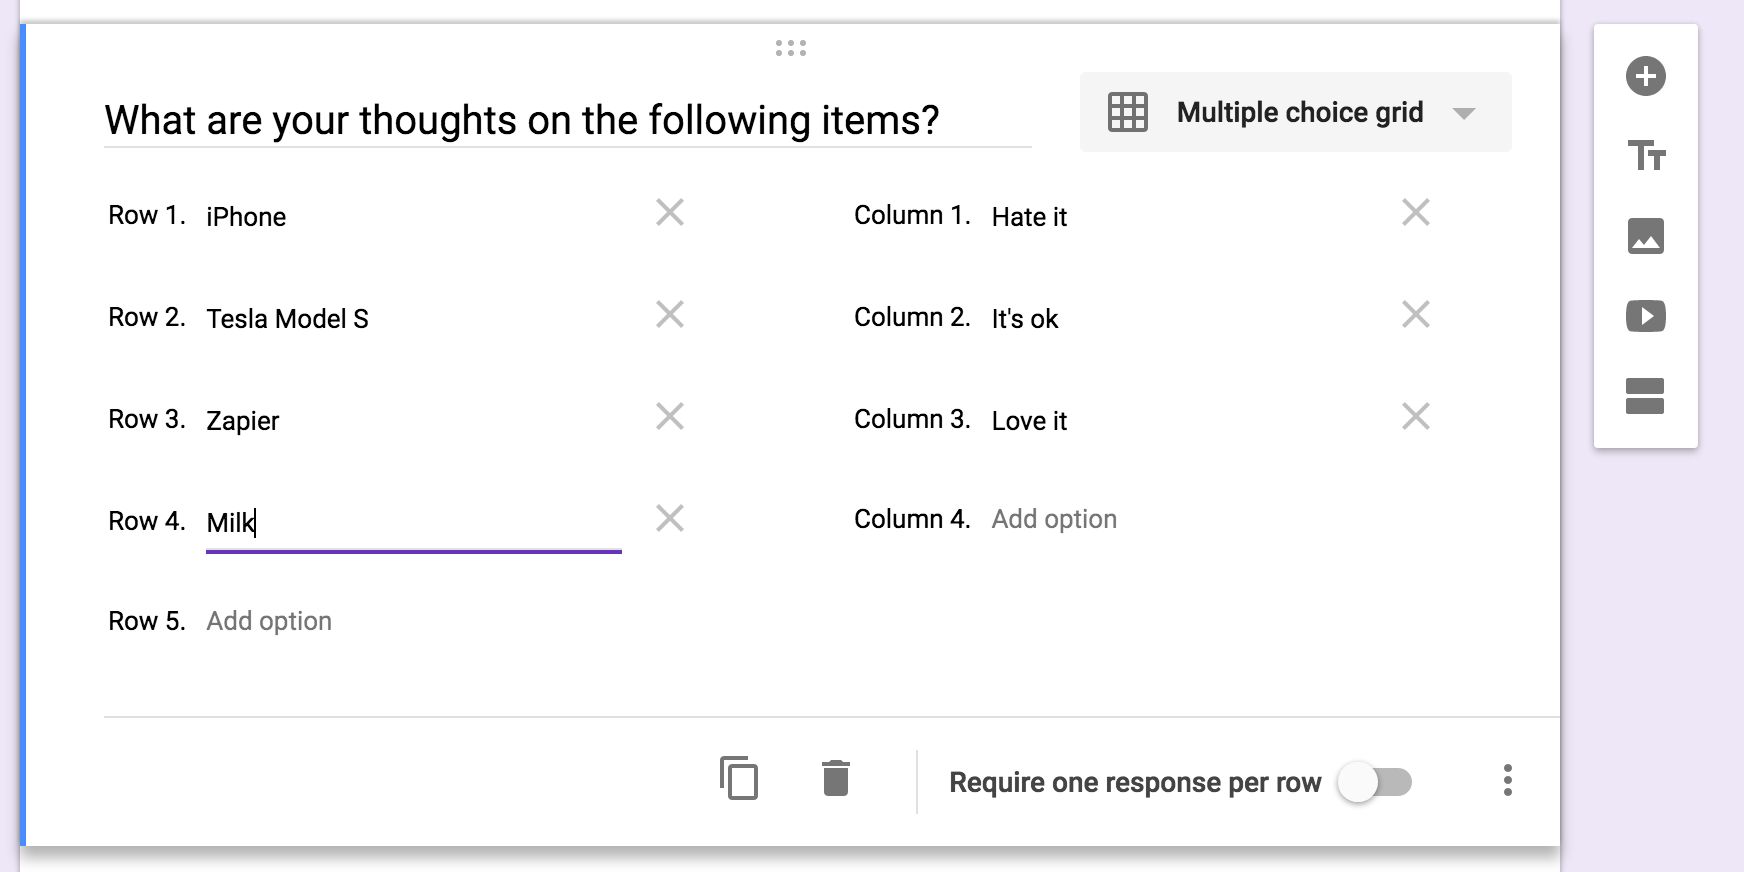
Multiple Choice Grid: This is perhaps the most confusing field, as the fields are displayed in a list rather than in the grid as they'll appear to readers. Essentially, you'll add questions as rows, and options about them as columns.
You can include as many rows and columns as you want, though do note that readers will have to scroll right to see more than 6 columns on desktop browsers or just 3 columns on mobile. You might want to keep the form preview open while setting up grid questions—just tap the eye icon on the top right, and refresh that page to see your changes.
Also, in addition to the standard option to require responses, the grid lets you require a response per row and can also limit users to only one response per column.
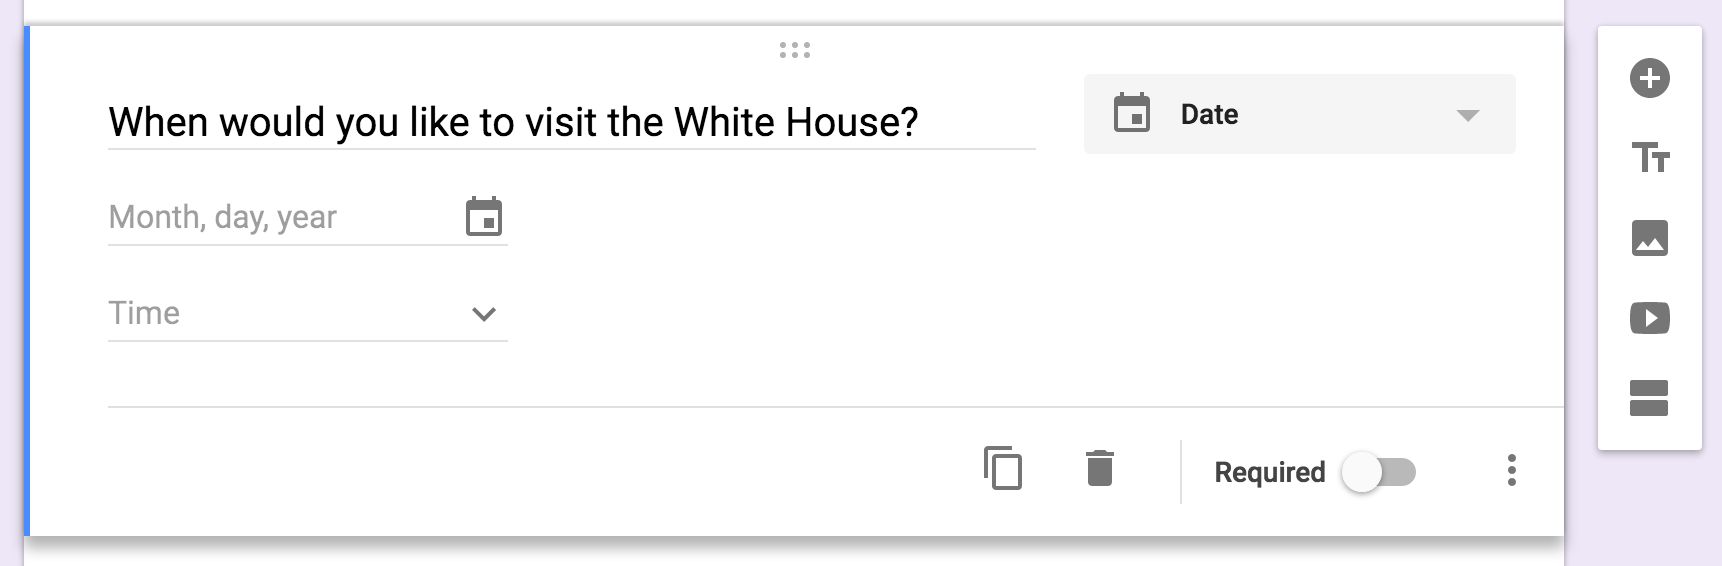
Date: Want to ask for a specific date or time, perhaps to schedule an event or log an activity? The date field is the one you want to select. It can ask for a date and month and, optionally, the year and time as well.
Do note that the date format will be shown in the default format for your location. If your Google Account is set to US English locale, dates will be formatted as MM/DD/YYYY; UK English accounts, on the other hand, will show dates as DD/MM/YYYY. Your users will see the date options in your locale's date format, unless they're logged into their Google Account, so be sure to keep that in mind when creating forms.
Time: Time lets you request a length of time in hours, minutes, and (optionally) seconds, for a way to log how long an activity took.
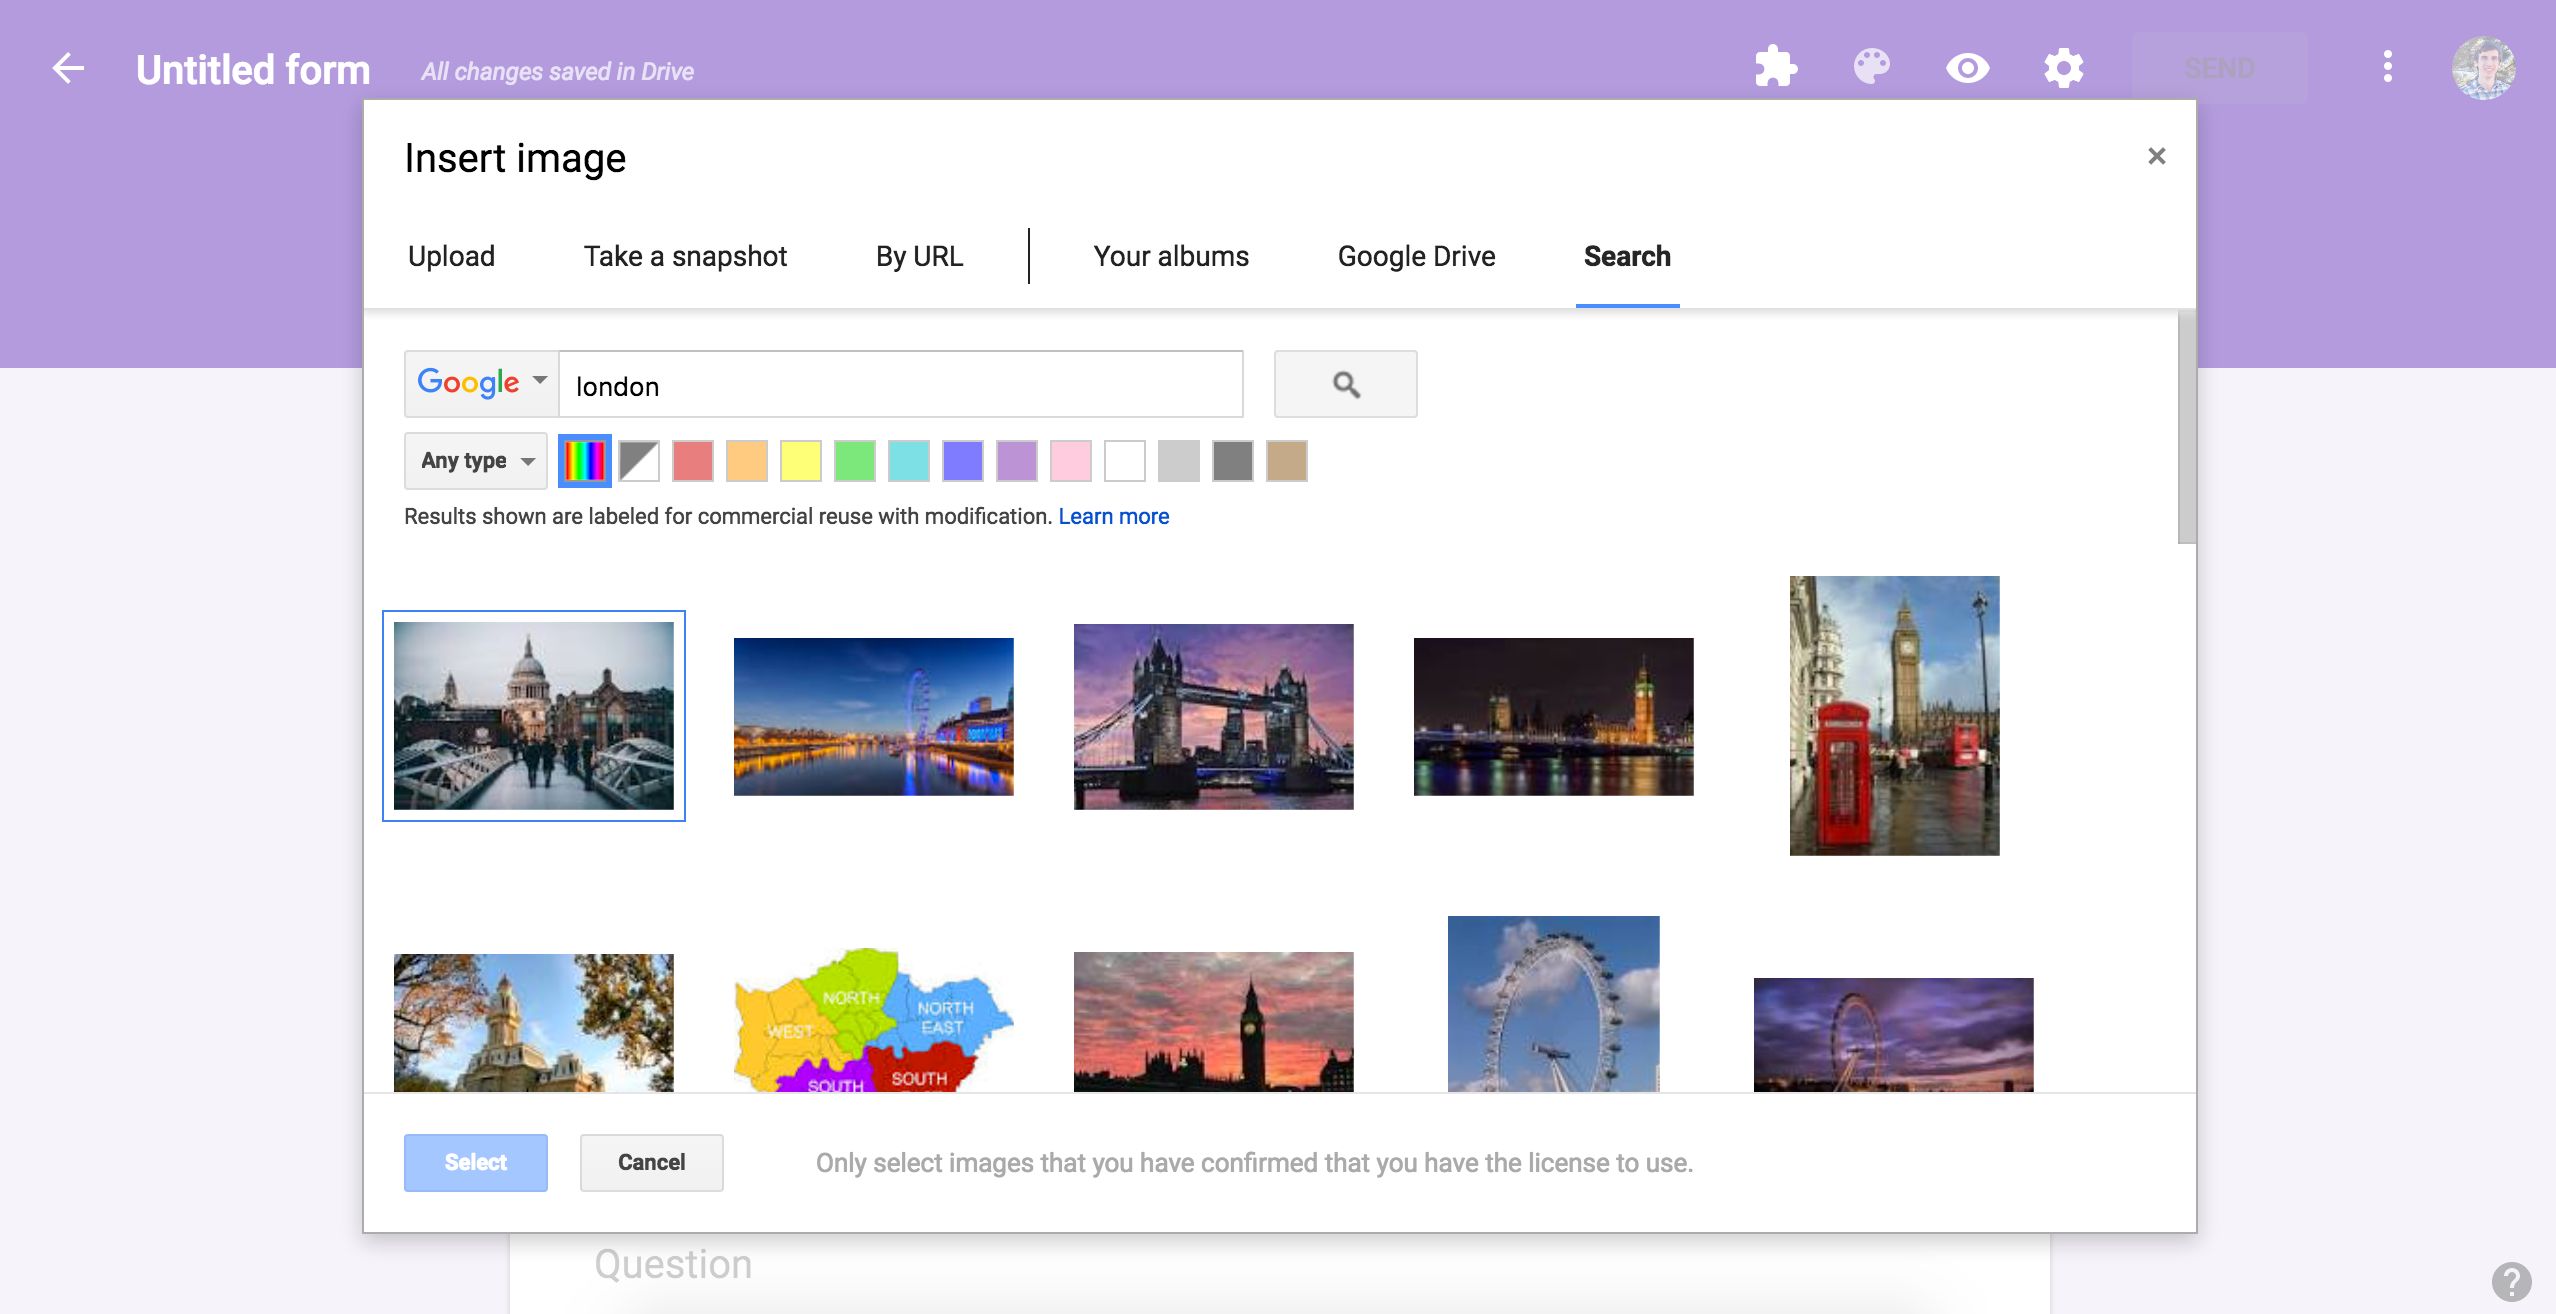
Image: Google Forms lets you upload an image, insert one from a link or Google Drive, or take a photo from your own webcam (as long as you have Flash installed). Or, you can search Google Images for photos, including royalty free stock photo and images from LIFE that are licensed to use inside Google Drive.
Video: Google Forms only supports YouTube videos, which you can add either through search or with a link.
Whether you've added images or videos, your form entry will have the standard title and description, along with options to resize and show the video or image centered, left, or right aligned.
With the questions out of the way, let's pull them together and make a complete form with sections and logic to route users to the correct questions.
Form Sections and Logic
Simple contact forms only need a few fields, but longer surveys can quickly get overwhelming with dozens of questions on one page. That's where sections come in handy: They let you break your form up into chunks to answer one set of questions at a time.
Just click the last button the right toolbar to add a section below the current question. Each section includes its own title and description, along with an arrow button at the top to show or hide questions and keep your form editor tidy.
You can drag-and-drop questions between sections, but you can't rearrange full sections. You could, instead, move the questions out and then delete that section. Or, if you want to reuse a section, just click the section's menu and select Duplicate section for another copy of those questions.
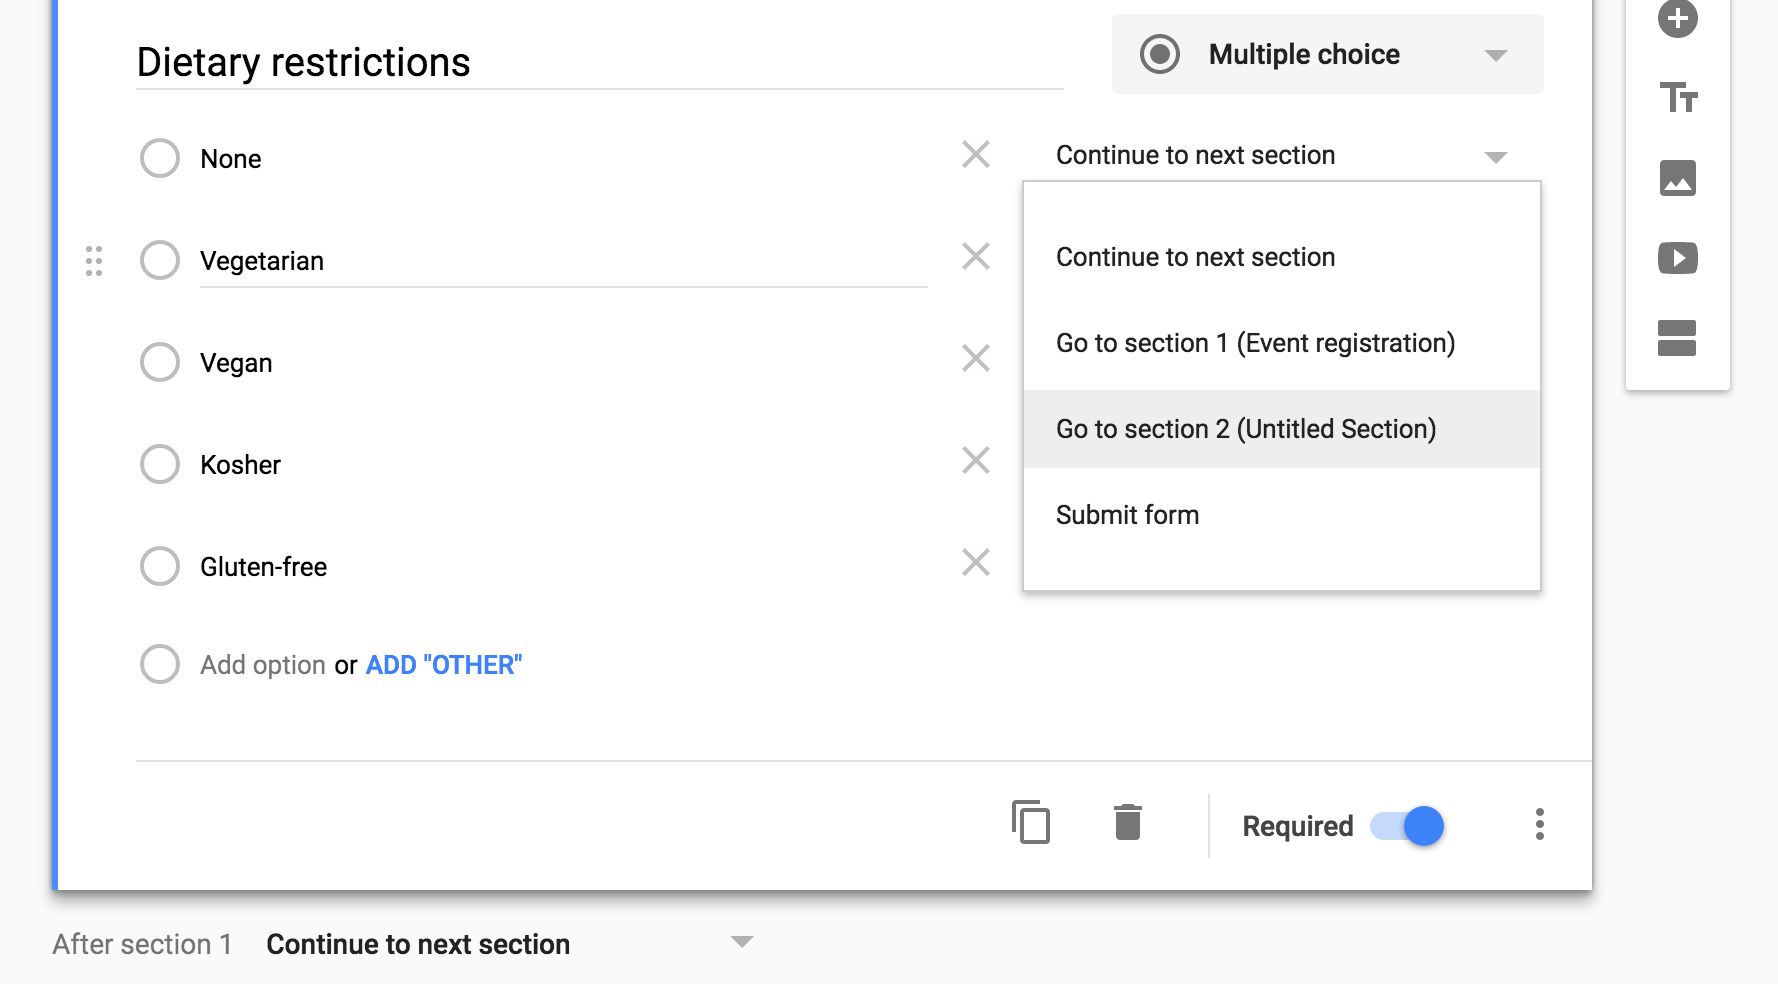
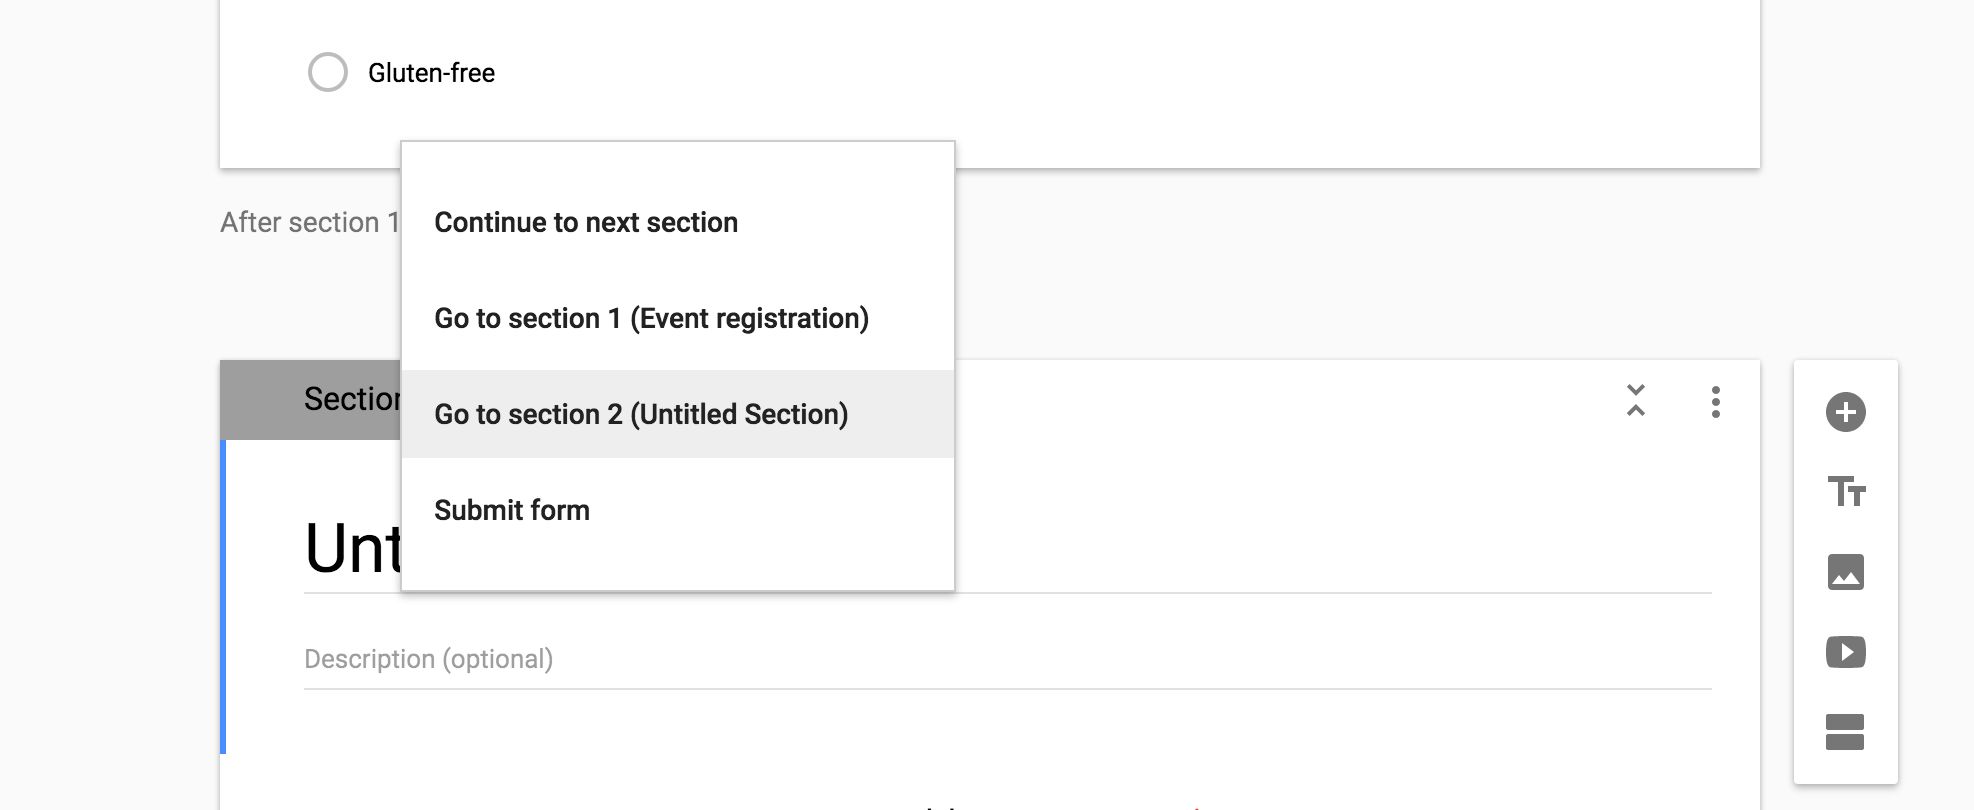
That's a perfect way to start a form with logic jumps. Say you want to ask a respondent followup questions based on their answer—perhaps to ask which meat an event attendee wants, but only if they're not vegetarian.
Just add sections with the optional questions, and then either add a section jump to the individual multiple choice, checkbox, or menu questions, or to the section itself. Make sure to think through where people who shouldn't see those questions are sent, too, perhaps with alternate questions in a separate section. Or, you can send them straight to the end of the form to submit their answers, if there's nothing else to ask.
Be creative: Form sections and jumps let you turn your form into a mini-app, and they can be a great way to condense detailed surveys down into only the most important questions for each person.


0 تعليقات